Rachel
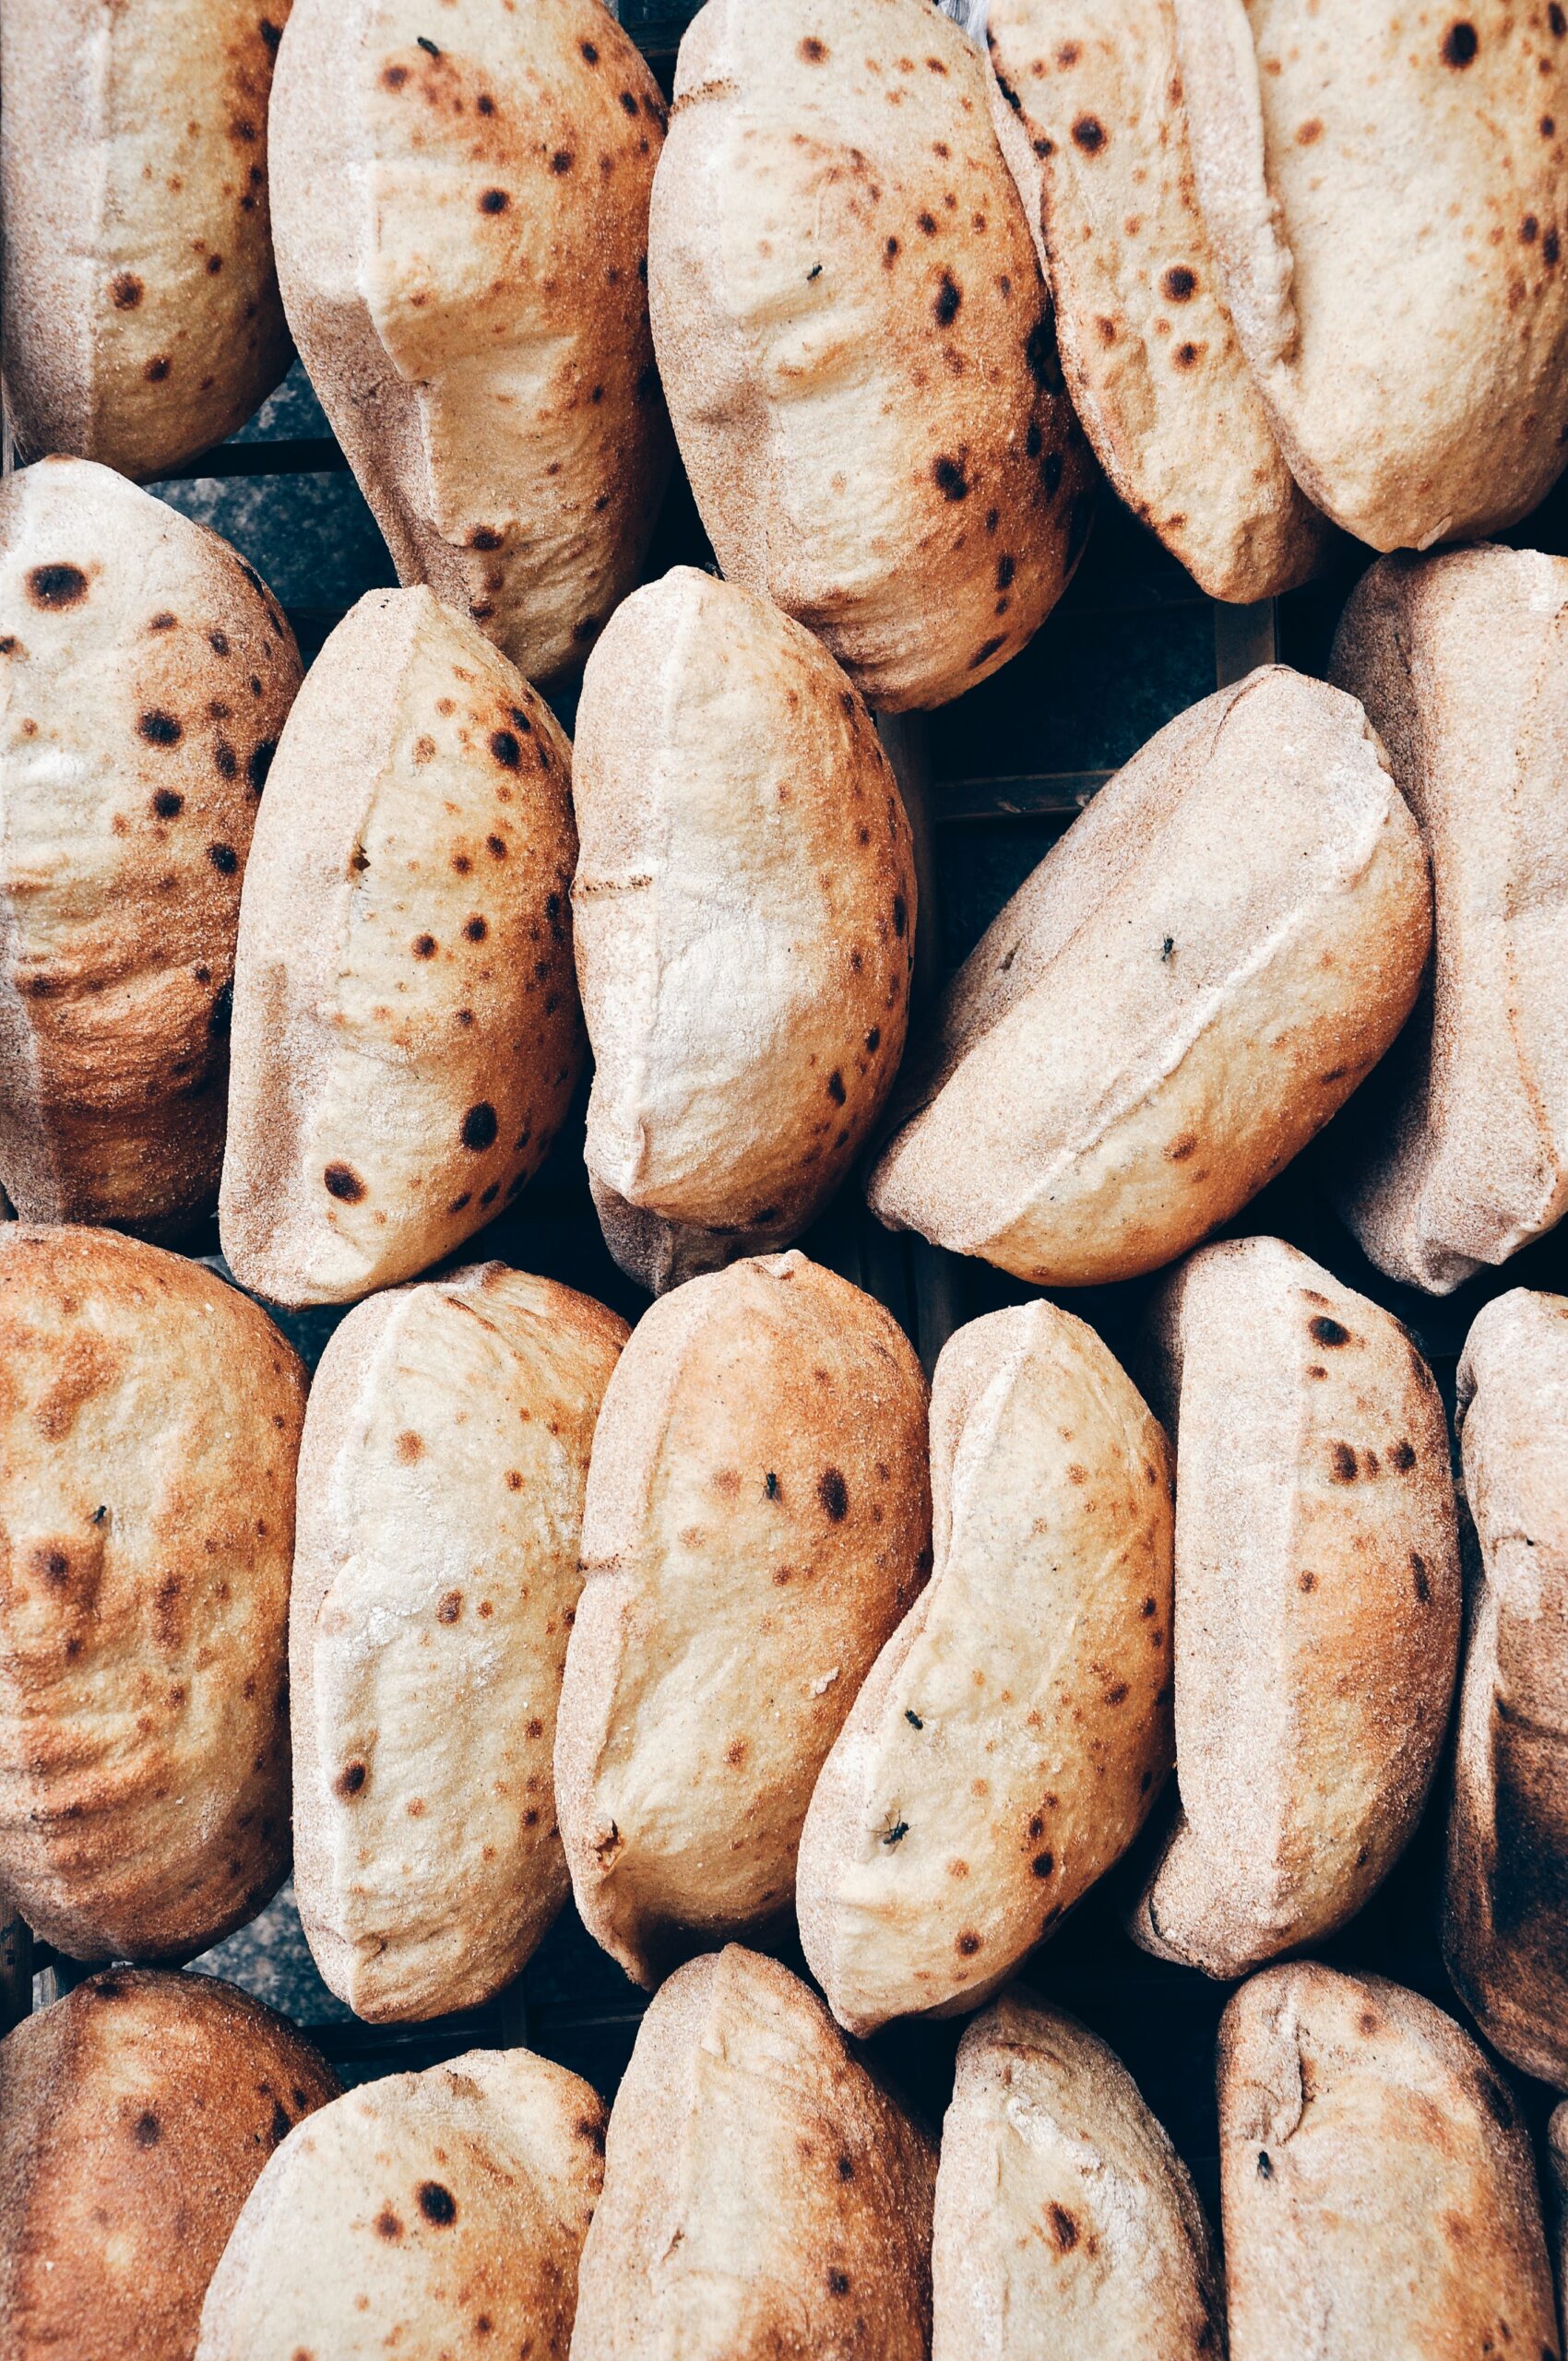
This post is all about bread baking 101.
There’s nothing quite like the aroma of freshly baked bread wafting through your home. Whether it’s a crusty baguette, a hearty sourdough loaf, or a soft and fluffy sandwich bread, baking your own bread can be a rewarding and delicious experience.
But if you’re new to bread baking, it can be a little intimidating. Don’t worry though – with a few key tips and some practice, anyone can become a master bread baker.
In this post, we’ll take you through the bread making process step by step, so you can confidently bake your own bread at home.
Step 1: Gather your ingredients
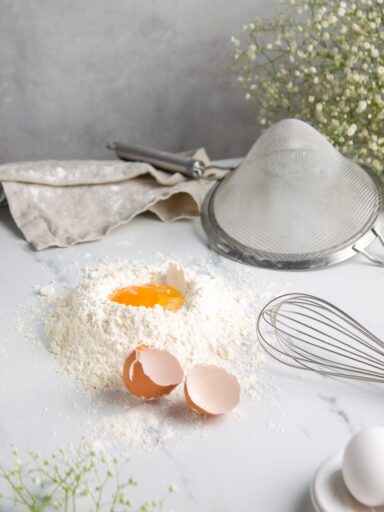
The first step in bread making is to gather your ingredients. The basic ingredients for bread are flour, water, yeast, and salt.
You can also add other ingredients like sugar, oil, milk, or eggs depending on the type of bread you’re making. Make sure you have all your ingredients measured out and ready to go before you start.
Refer to this recipe for the measurements if you want to make buns.
Step 2: Mix your dough
Once you have your ingredients ready, it’s time to mix your dough. You can do this by hand or using a stand mixer with a dough hook.
Combine your flour, yeast, salt, and any other dry ingredients in a bowl. Then slowly add in your wet ingredients while mixing until a dough forms. Knead the dough until it’s smooth and elastic, then cover it and let it rise for an hour or two.
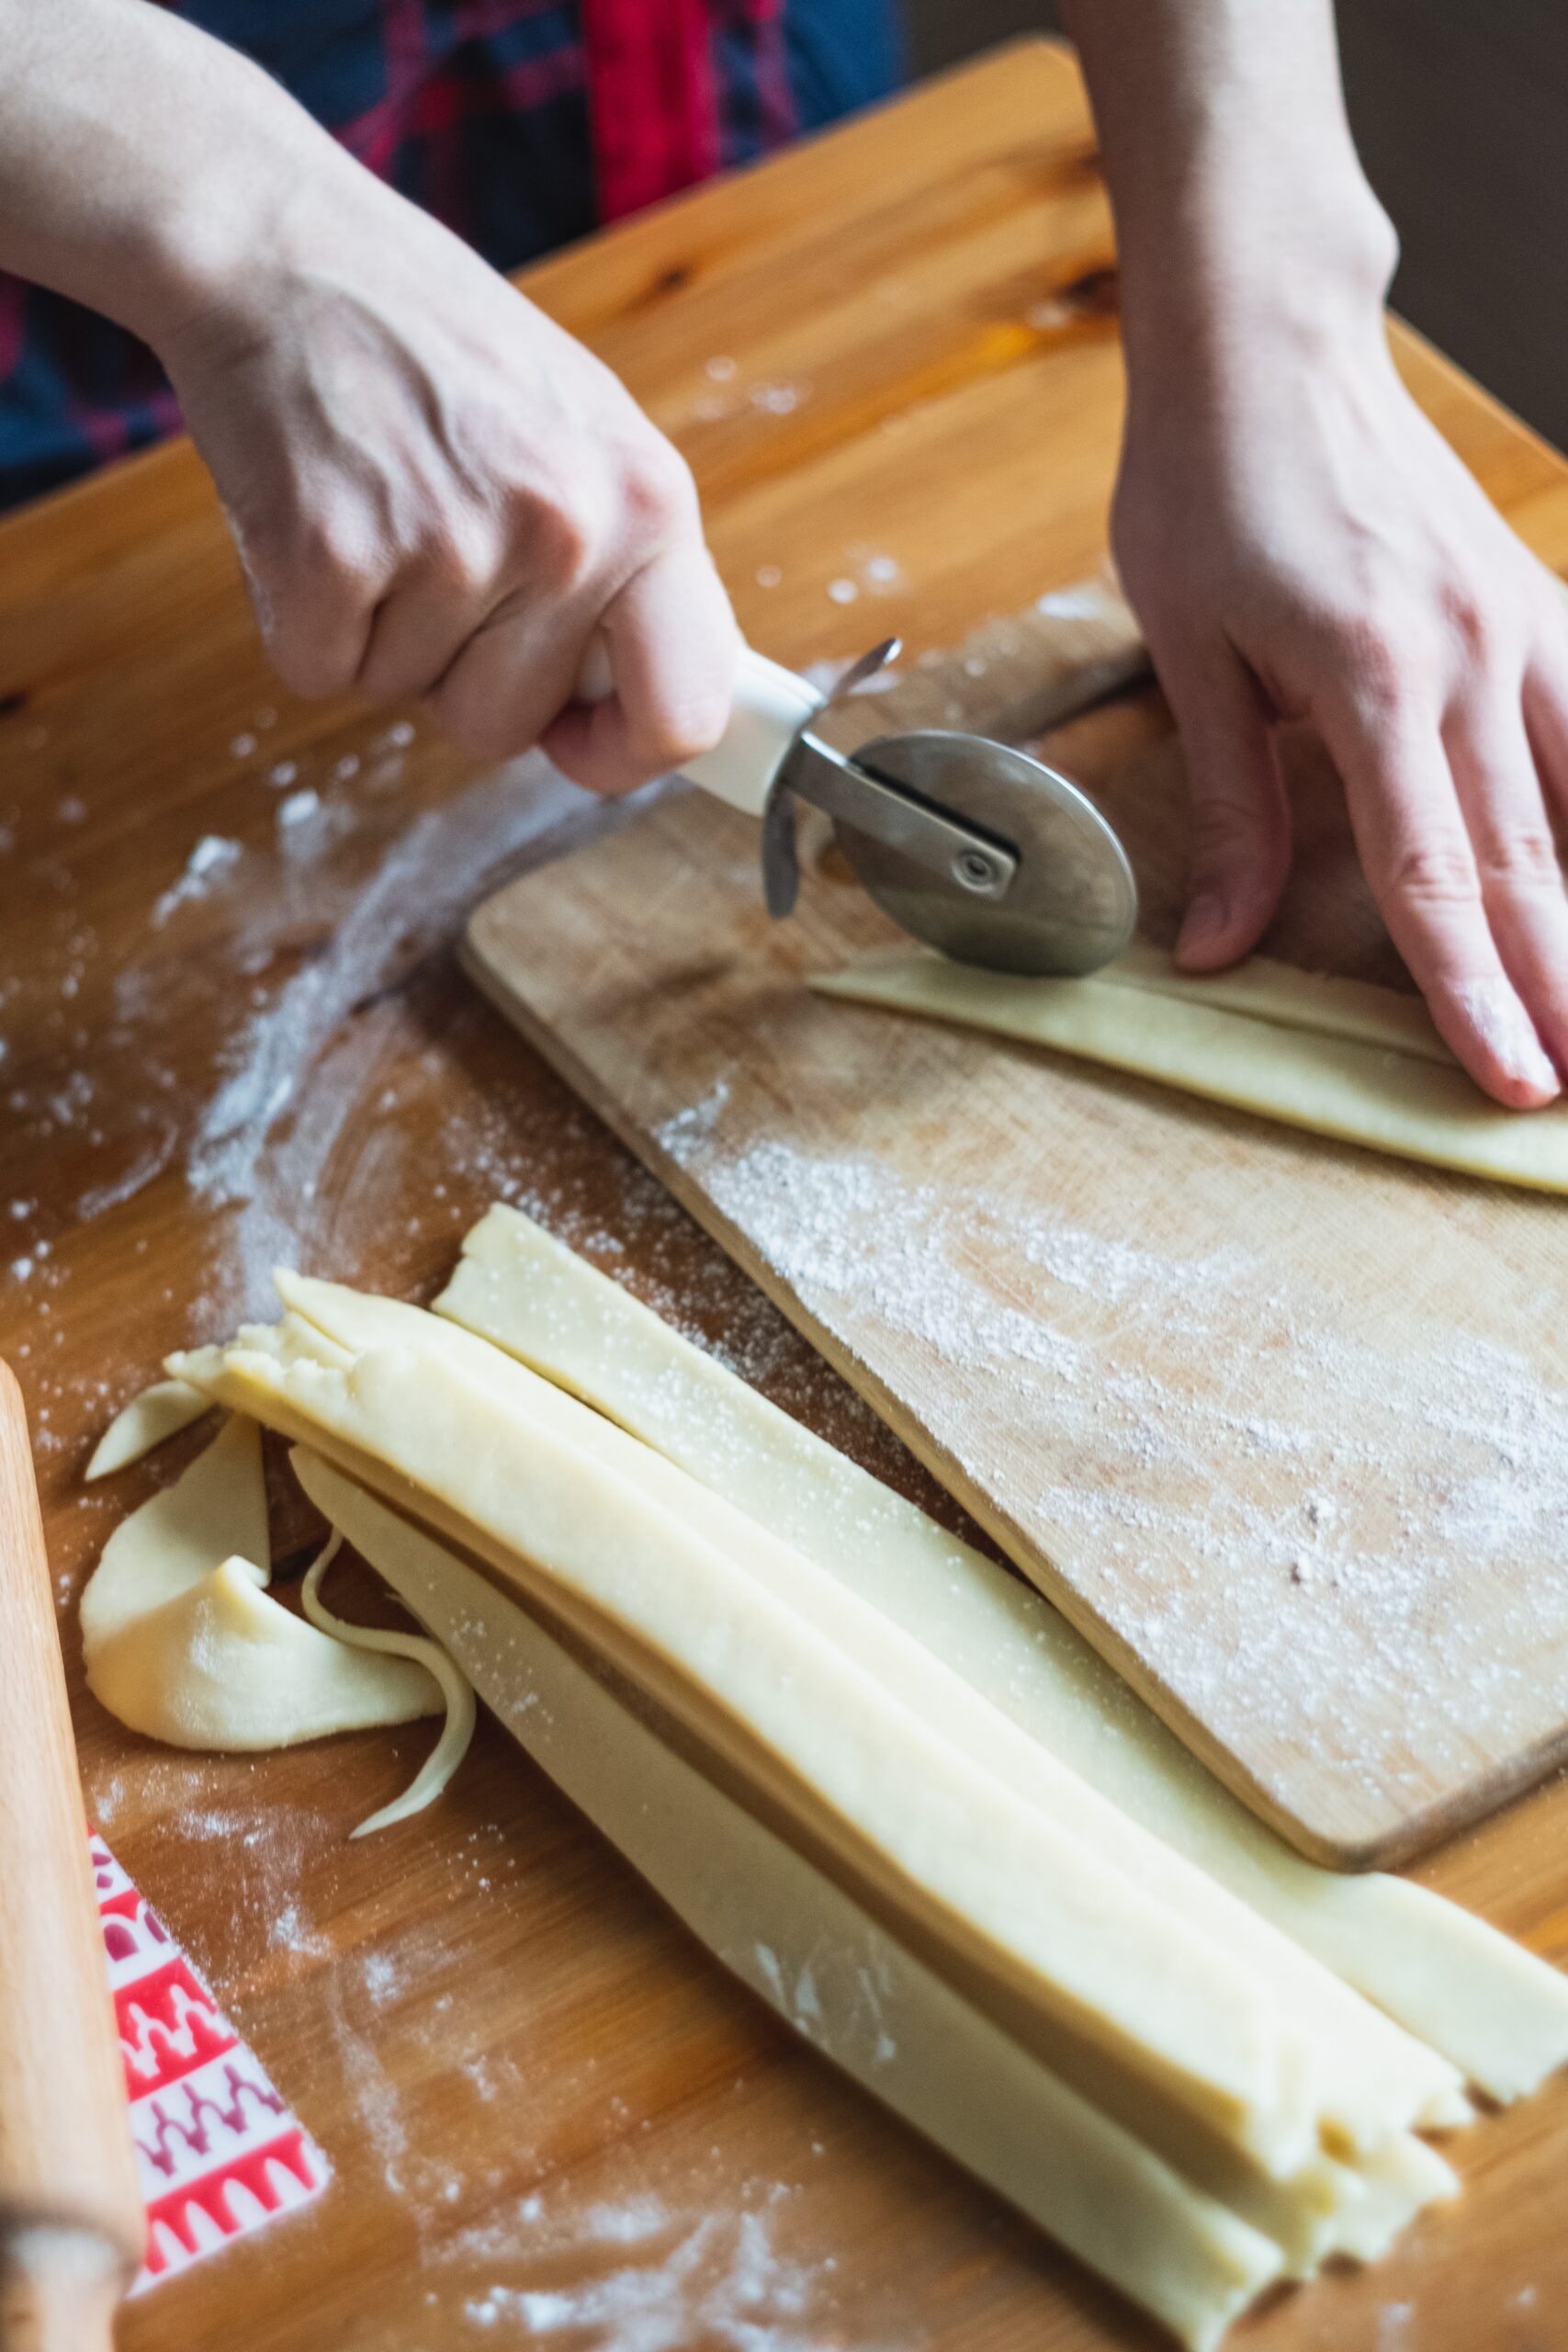
Step 3: Shape your dough
After your dough has risen, it’s time to shape it. This will depend on the type of bread you’re making. For a simple sandwich bread, you can shape it into a loaf and place it in a greased bread pan.
For a rustic loaf like a sourdough, you’ll want to shape it into a ball or oblong shape and place it on a baking sheet lined with parchment paper.
Step 4: Let your dough rise again
Once your dough is shaped, you’ll need to let it rise again. This is called the second rise or proofing. Cover your shaped dough and let it rise for another hour or two, until it’s doubled in size.
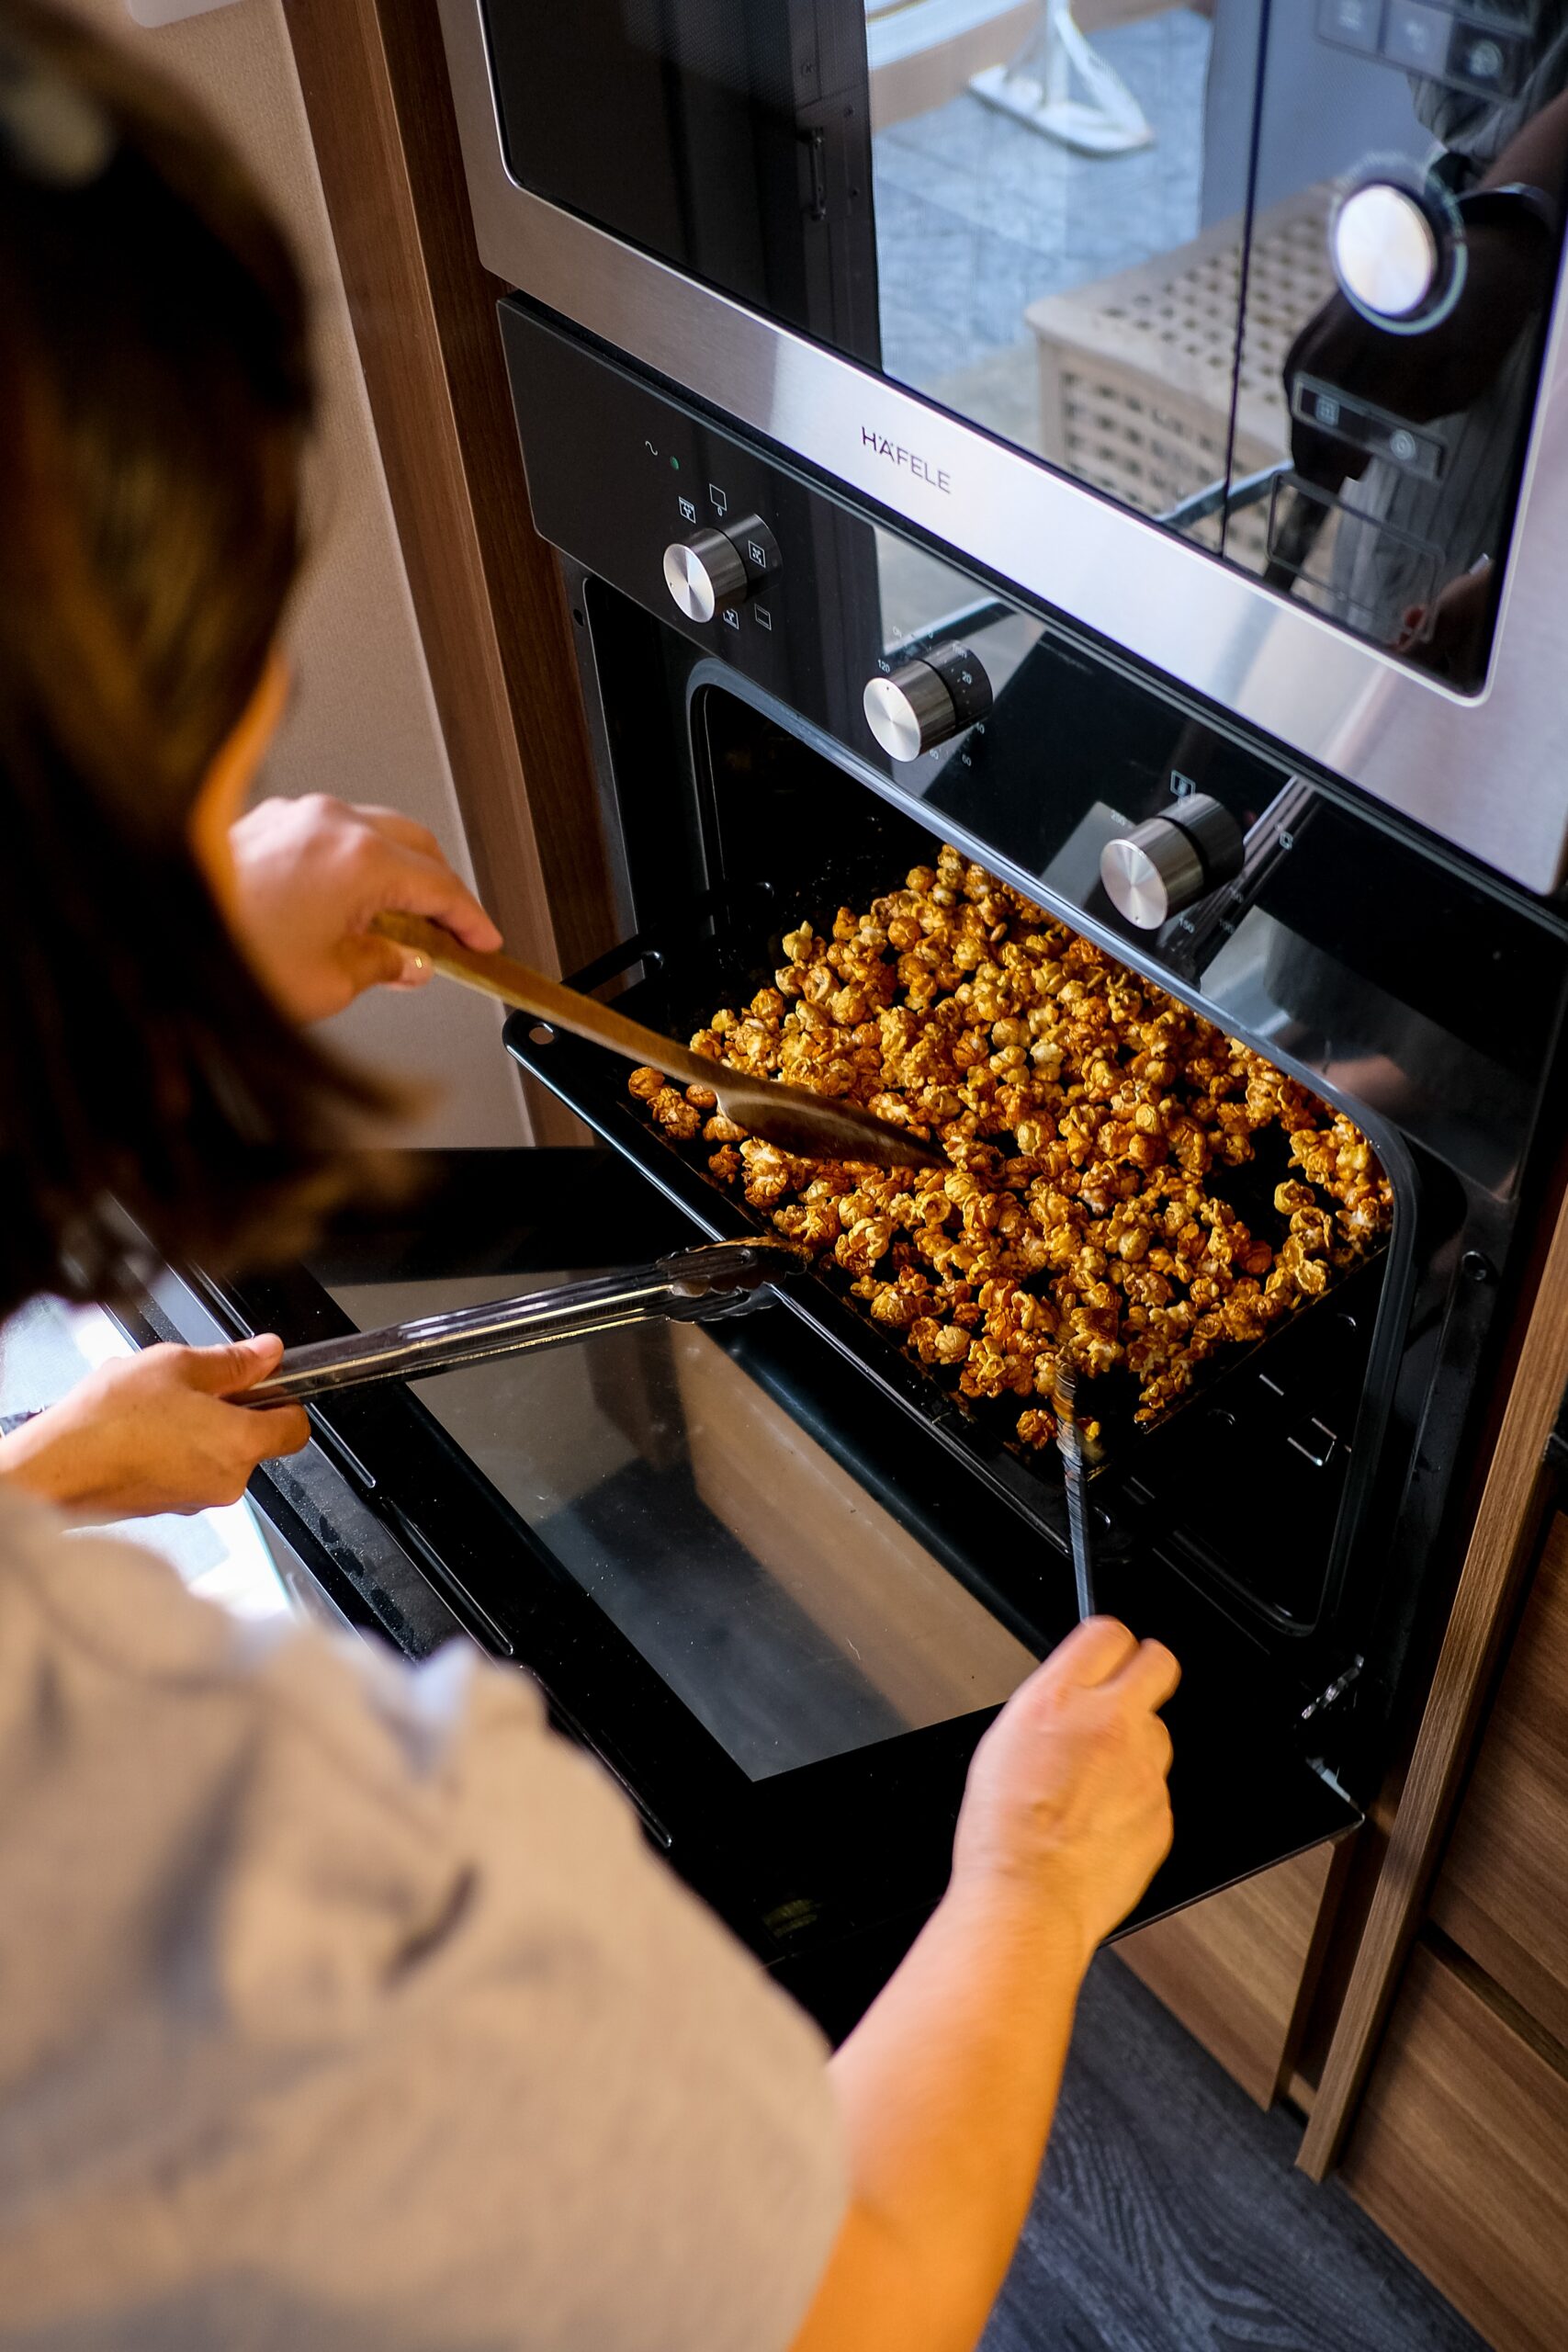
Step 5: Bake your bread
Finally, it’s time to bake your bread. Preheat your oven to the temperature specified in your recipe. If you’re baking a rustic loaf like a sourdough, you can also create steam in the oven by placing a pan of water on the bottom rack.
This will help create a crispy crust. Bake your bread for the time specified in your recipe, until it’s golden brown and sounds hollow when tapped.
Step 6: Enjoy!
Once your bread is done, take it out of the oven and let it cool on a wire rack. Resist the temptation to slice into it right away – letting it cool will help it set properly. Once it’s cooled, slice it up and enjoy your homemade bread!
Bread baking may seem daunting at first, but with a little practice, anyone can master the art of bread making. By following these simple steps, you’ll be able to bake your own delicious bread at home.
Just remember to be patient – bread making is a process that takes time, but the end result is worth it. Happy baking!
This post is all about bread baking 101.